
On September 19, 2012.
*Updated November 2025*
Supplies:
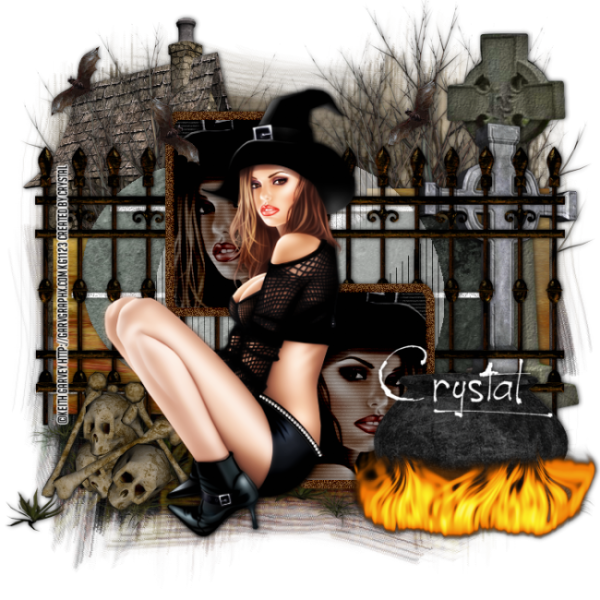
Tube by Keith Garvey
but I have not seen him selling anywhere recently
Scrap Kit by HorsePlay's Pasture Designs HERE
Template by Crazed Creations by Crystal HERE
Mask of Choice
Filters:
DSB Flux-Bright Noise
Photo Effect- Scanlines
Tramages- Tow the Line
Drop Shadow:
Whatever you prefer
Template:
*Open Template and Duplicate Close the Original.
*Raster 1...MW...C&P paper 2 into selection and
apply a Mack of your choice.
*Raster 2...Apply DSB Flux/ Bright noise Default Settings
*Raster 3 & Copy Of Raster 3...Merge Down Layers
MW...C&P paper 9 into selection
*Raster 4 &Copy of Vector...MW...C&P paper 7 into selection
*Raster 5...Add DSB Bright Noise...Any Settings is fine.
*Raster 6 & Copy of Raster 6...Merge Down...Select/Float/Defloat
Apply a color from the tube or kit and add Bright Noise.
*Raster 7 & Copy of Raster 7...Merge Down...MW...
add your close up to the Rectangles...Merge Close Up layers
Duplicate...On original Close up Blend mode Luminance (L)
On the cope apply a Gaussian Blur 2% and Blend mode Burn.
Opacity on all Close Up layers set to 65%
On the Black Rectangle Apply Photo Effect- Scanlines
settings 2/2/20/36/65/0
*Raster 8...Apply Tramages- Tow the Line settings 80/54/48/9
Opacity 50%...slide under Raster 6
Add your preferred Tube where you think it looks best
C&P Elements:
*Element 13...Place on top Raster 2...Duplicate and mirror
*Element 34...Place on top of Raster 8...Duplicate and Mirror
*Element 42...Place above the mask...Slide towards the bottom
of the canvas.
*Element 14 and 15...RS 85% on both 2 times and arrange to your liking
(See my Tag for reference)
*Element 33...RS 65%...Place behind the trees to the left of the tag
*Element 8...RS 65%...Place to the Right of the canvas
(See my Tag for reference)
*Element 7...RS 65%...Place to the left of the Canvas
(See my Tag for reference)
*Element 29...RS 65% 2 times...Duplicate a few times
place randomly around your tag
Add your name, Copyright info and Watermark
Re-Size your tag if you want to and you are done
No comments:
Post a Comment