
This tutorial was written by Chasunicorn
on January 4, 2013.
*Updated November 2025*
Supplies:
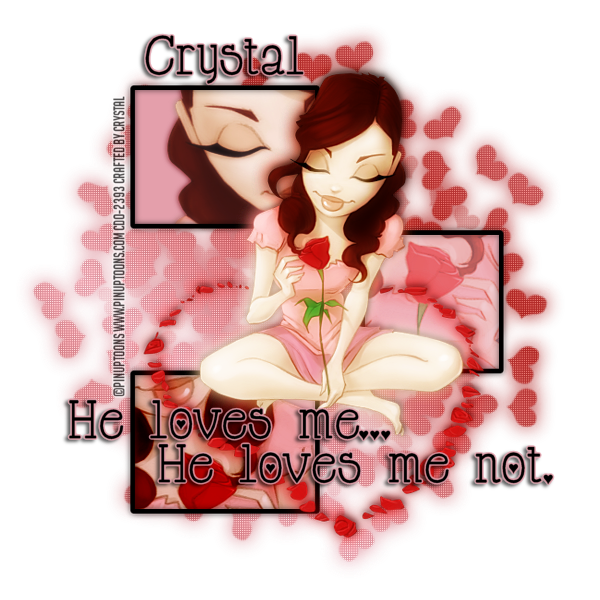
Tube By PinUp Toons
He has not been in a store since SDNC
Mask 176 by Vix PSP
Filters:
Penta~ Color Dot
Eye Candy~ Gradient Glow
Drop Shadow:
Whatever you prefer
Canvas Size:
650x650
Step by Step:
*Open a new canvas and flood with a gradient of choice.
I chose 2 colors from my tube and used the Foreground-
Background Gradient...Apply your Mask...Merge Group
Duplicate Apply Color Dot Default settings to the top copy Blend Mode
to Luminance (L) and add a blur to the bottom layer
*Change your Foreground Color to Black and Draw out a 200x150 Rectangle and a 150x150
Rectangle and a 150x150 Square
**200x150 Rectangle~ place your shape towards top left
Duplicate and flip
**150x150 Square~ Place to the right of the Rectangles
Merge All Shape Layers
*MW inside all the shapes...Add a new layer and flood fill with a color
of choice...Add a close up of your tube to the Shapes...Switch the tube around
to show different areas of the close up or full tube.
On each of the tube layers play with the Blend Modes
**Tube layer 1 (Top)~ Duplicate add a blur to the copy
Drop the Opacity to 70% on both layers and the Blend Mode to Overlay on the copy
**Tube layer 2 (Middle)~ Change the Blend Mode to Hard Light
and drop the Opacity to 50%
**Tube layer 3 (Bottom)~ Duplicate add a blur to the copy
Drop the Opacity to 60% on both layers and the Blend Mode to Burn on the copy
*Add your full tube to the center of your canvas.
*Add any word art or elements you would like
Add your name, Copyright info and Watermark
Re-Size your tag if you want to and you are done
No comments:
Post a Comment