
On July 31, 2012
**Updated November 2025**
Supplies:
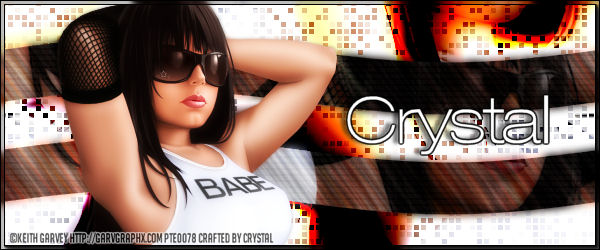
Tube of Choice
I used Keith Garvey but I have yet
to see him come back to selling tubes
Filters:
Xero -Fritillary
Photo Effects -Scanlines
Eye Candy 5: Texture -Texture Noise
AAA Frame -Foto Frame
MuRa's Meister-Copies
Canvas Size:
Banner: 600x250
Avatar: 150x150
Step by Step:
*Flood Fill your canvas with white
*On Raster 1...Apply Xero -Fritillary
Settings 7/30/100/84
*Add a Close up of your tube and apply
MuRa's Meister -Copies
Wallpaper Default Settings
Select All...Image/Crop to selection
Duplicate layer...On one layer Adjust/Motion Blur 2xs
First: 300 angle 100 strength Second: 75 angle and 100 strength
Slide this layer over Raster1 and change Opacity to hard light
Original Layer to Burn
*New Layer Flood fill with black
selection tool create a 600x50 selection
Invert/Delete
*Add some wave to this layer...Effects/Distortion/Wave
Settings H:0/1 V:5/100 Transparent
*Duplicate this layer and slide the copy to the bottom
of your canvas to create 2 wavy lines
Merge layers
*Raster 2 Add Photo Effects -Scanlines
Settings 2/4/20/10/16/0 2xs
MW these wavy lines and arrange your Close up to cover the selection
Opacity Screen on tube layers merge all 3 layers
Add Eye Candy 5: Texture-Texture Noise
Default Settings
*Duplicate this layer and add a Gaussian blur at 5%
Opacity Hard Light
*Add your preferred Tube where you think it looks best
Duplicate and Gaussian Blur at 5%
Opacity Hard Light
Add your name, Copyright info and Watermark
Re-Size your tag if you want to and you are done
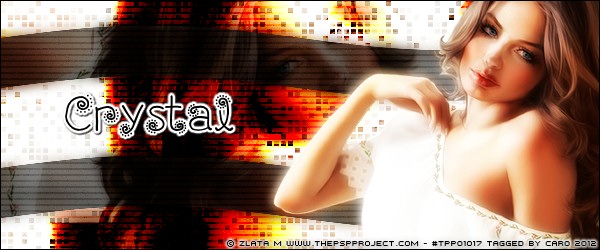
Some results from other taggers:
(Caro 2012)
No comments:
Post a Comment