
This tutorial was written by Chasunicorn
On July 5, 2012.
*Updated November 2025*
Supplies:
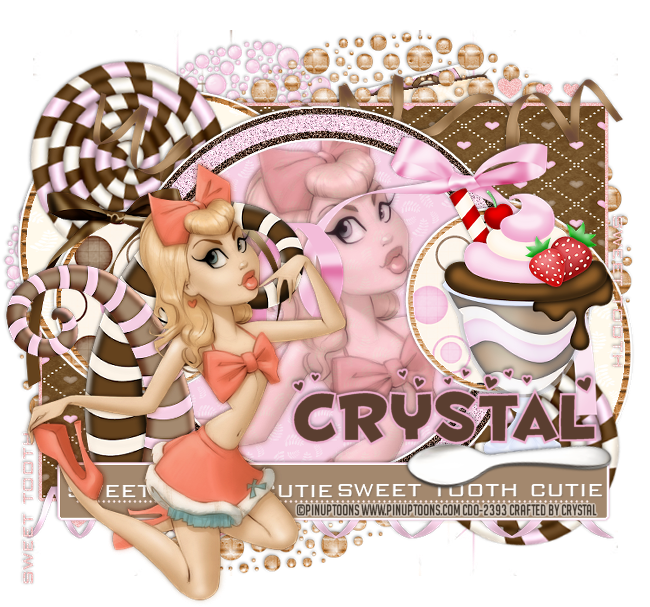
Tube by PinUp Toons
He has not been in a store since SDNC
Kit by Designs by LKD
This kit is unavailable but any kit should work
Template #344 by Divine Intentions HERE
Any Mask you want to use
Filters:
Eye Candy 5~ Gradient Glow
(Optional)
Drop Shadow:
Whatever you prefer
Template:
*Duplicate Template and Close out the Original
*Enlarge Canvas Size...Image/Canvas Size...Width~750 and
Height~700
*Background...Select All...C&P into selection paper 1
Apply your Mask...Merge Group...RS 90%
*Square 1...MW...C&P paper 7 into selection
*Square 2...MW...C&P paper 12 into selection
*Hearts...Adjust/Hue & Saturation...Hue 0/Sat. 74/Lightness 61
*Glittered Rectangle Right & Left...Adjust/Hue & Saturation...Hue 0/Sat. 74/Lightness 61
Merge These Layers
*Rectangle Right & Left...Merge These layers...MW...C&P paper 8 into selection
*Glittered Circle Right & Left...move these layer around and Merge These layers
Select all/Float/Defloat...C&P paper 10 into selection
*Circle Right & Left...Merge These layers...C&P paper 11 into selection
*Center Circle...MW...C&P paper 5 into selection
*Glittered Center Frame...Flood Fill with coordinating color from kit...
Add Noise (I used #5a3e30)
*Center Frame...Flood Fill with coordinating color from kit...
Add Noise (I used #f7d2e5)
*Small Glittered Circle Right & Left......Merge These layers
Select all/Float/Defloat...C&P paper 10 into selection
*Small Circle Right & Left...Merge These layers...C&P paper 3 as a new layer invert and delete
Merge Paper and circle template together
*Thin Rectangle...Flood Fill with coordinating color from kit (I used #a3886e)
*Glittered Sweet Tooth & dotted Line...
Adjust/Hue & Saturation...Hue 0/Sat. 74/Lightness 61
*Optional...I added some slight Gradient Glow to some of the layers
C&P Elements:
*PinkHeart...RS 75%...Free Rotate 40% Left...Slide layer just above
Mask Layer
*Waffledots...RS 85%...Move to above the Square layers...slide to the top right corner
Duplicate Mirror and Flip...Merge down
*Cane1...RS 85% and again 75%...place to the left of the tag behind the Thin Rectangle
*Cane2...RS 55%...place in front of Cane1
*Click on the center Circle and Add a Close of your tube...Duplicate
Orignal Blend mode Luminance Legacy...Copy Adjust/Blur/Gaussian 3... Blend Mode Multiply
Opacity on both layers 68%
*Candy1...C&P above Merged Circle Left & Right...Free Rotate 20%...Duplicate
Mirror and Flip...Merge Down Layers
*Sundae...RS 65%...Paste above the thin Rectangle...slide to the right of the tag
*Spoon...C&P in front of the Sundae
Add some Ribbons to different places if you like
Add your preferred Tube where you think it looks best
Add your name, Copyright info and Watermark
Re-Size your tag if you want to and you are done!
No comments:
Post a Comment